🧩 Section 11: Build the Grid Buttons
📝 Summary
In this section, you will build the clickable Minesweeper grid in Tkinter. You’ll create a 2D list of Button widgets, place them using the grid layout manager, and bind mouse/keyboard events so each button can reveal or flag a cell.
✅ Checklist
- Add a
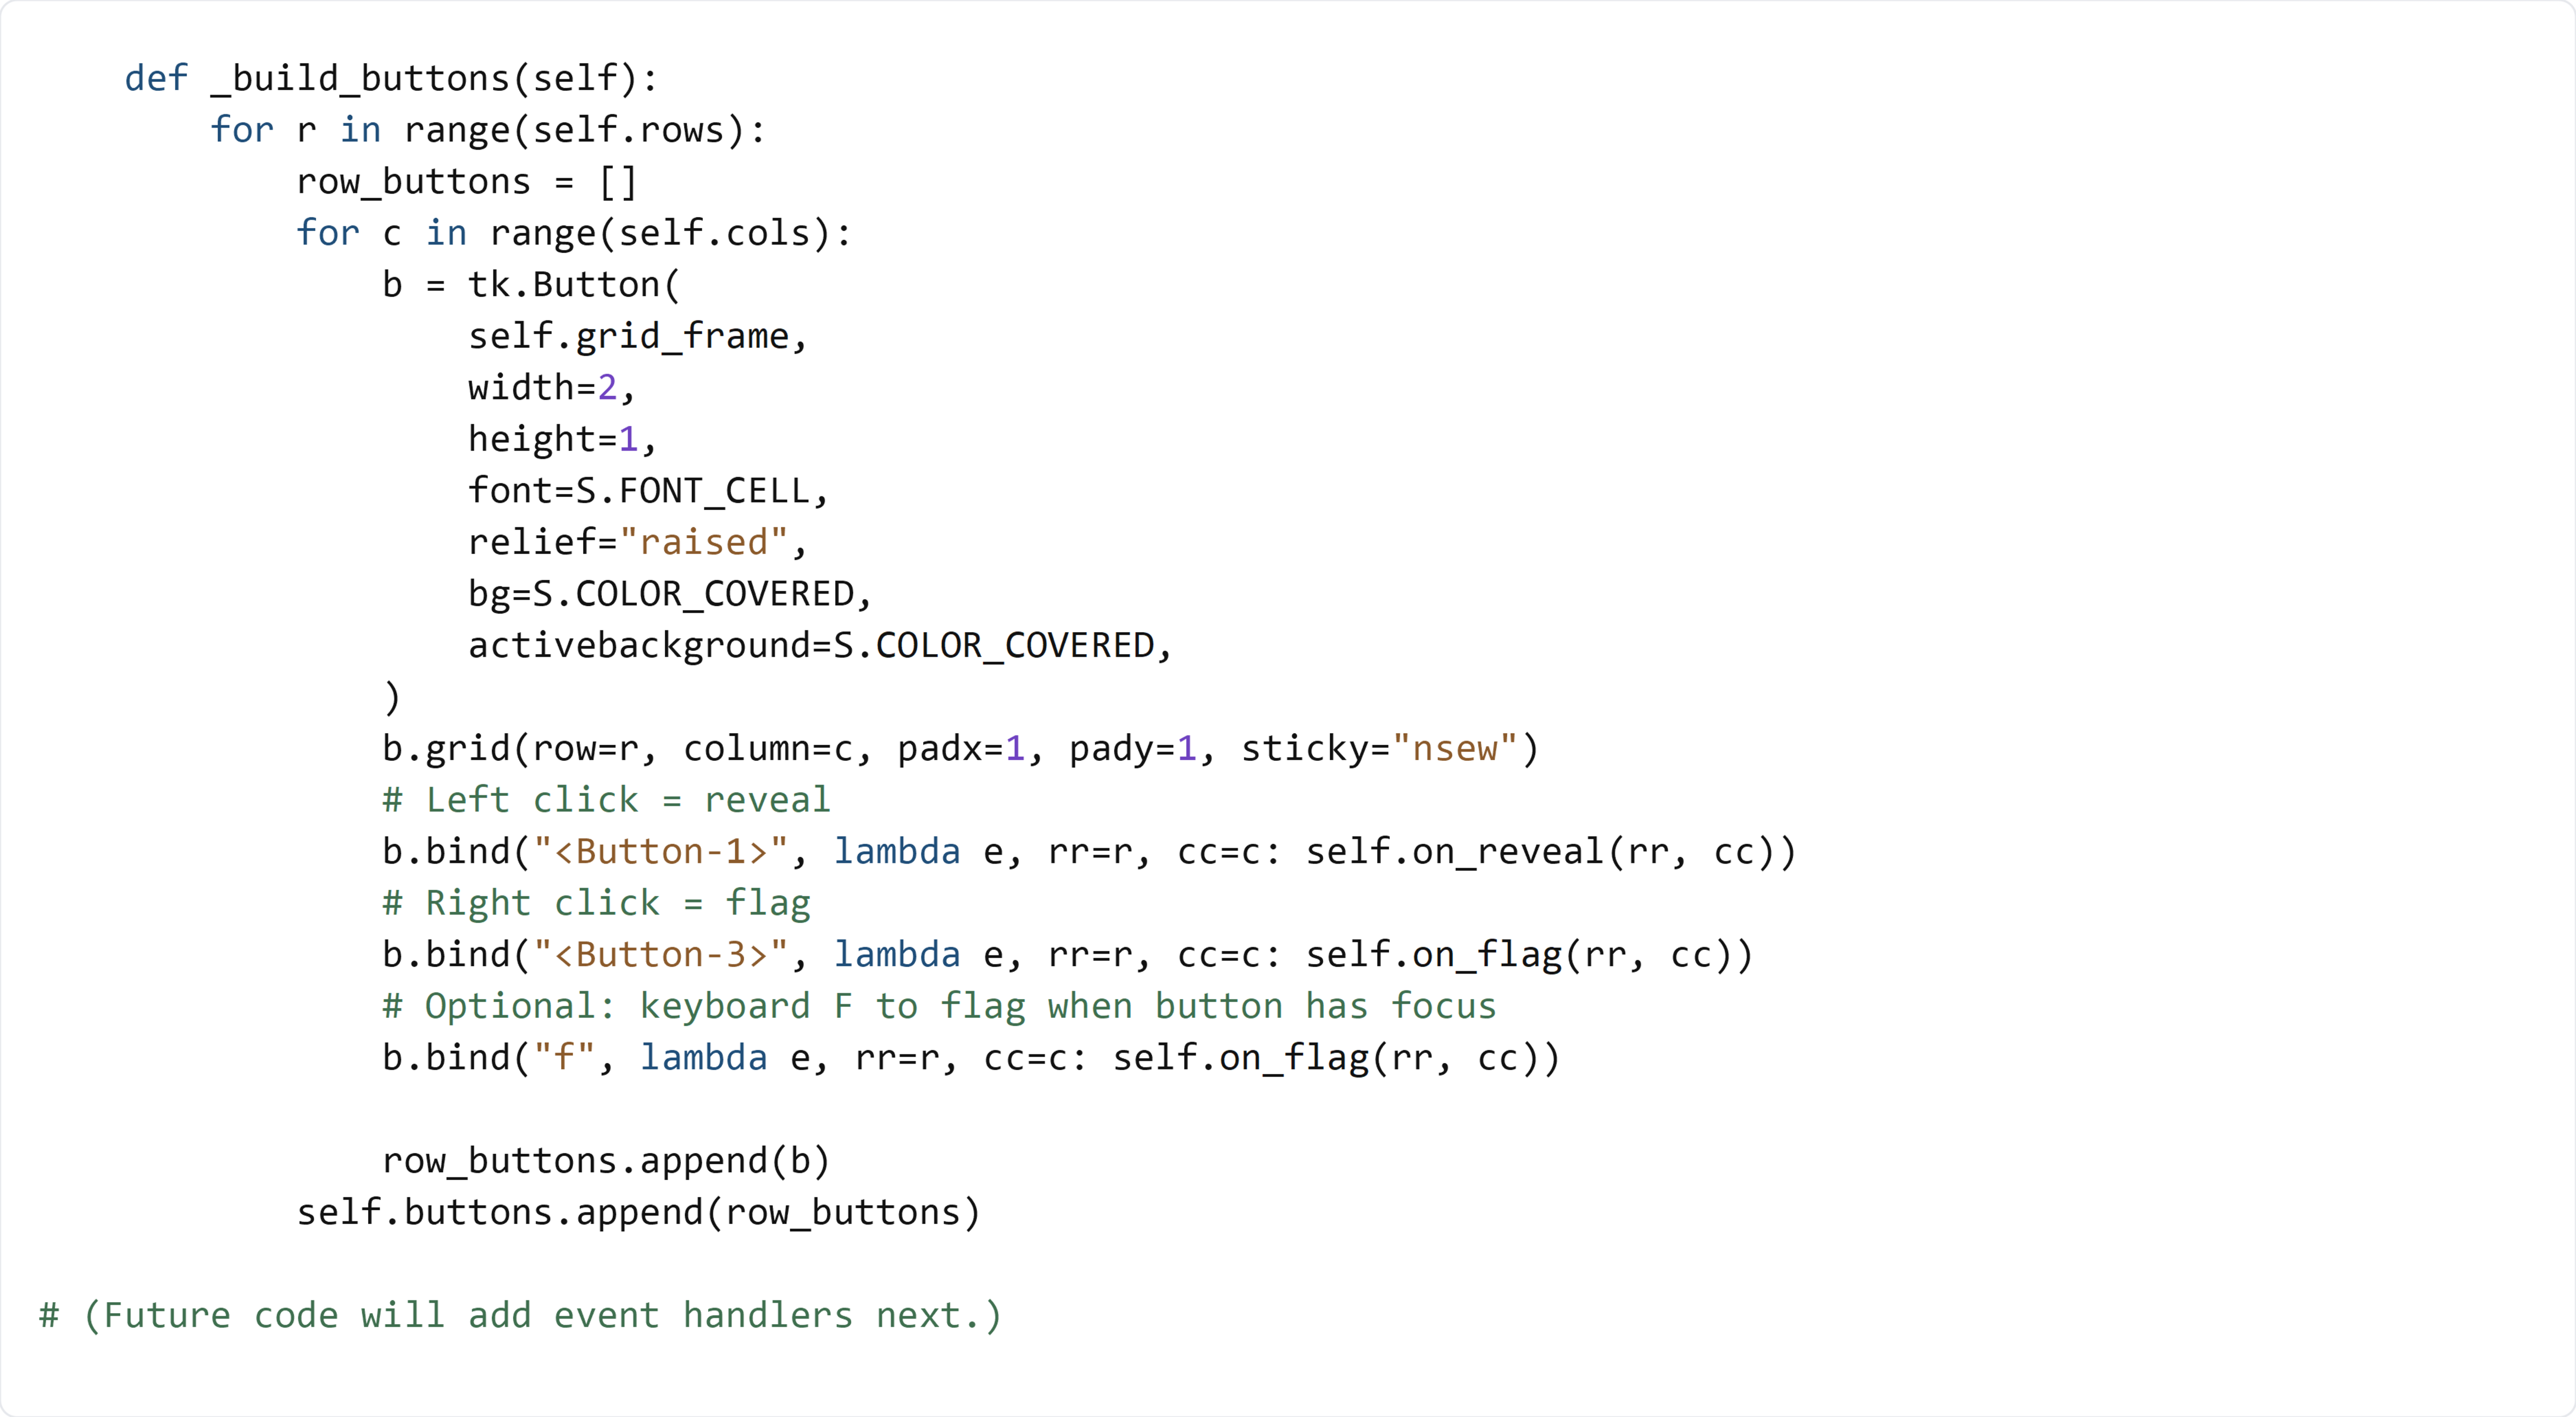
_build_buttons()method insideclass GameApp(after_new_board) inapp.py. - Loop through every row/column and create a
tk.Buttonfor each cell. - Place buttons in
grid_frameusing.grid(row=..., column=...). - Store buttons in
self.buttonsas a 2D list (self.buttons[r][c]). - Bind left click (
<Button-1>) toon_reveal(r, c). - Bind right click (
<Button-3>) toon_flag(r, c). - Bind the
fkey to flag when a button has focus (optional keyboard support).
🎓 Core Concepts
2D list of widgets: Just like the Board has a 2D grid of Cell objects, the UI will have a 2D grid of Button widgets. Storing buttons as self.buttons[r][c] makes it easy to update a specific square when the model says it changed.
The grid geometry manager: Tkinter’s grid() places widgets in rows and columns. For Minesweeper, grid(row=r, column=c) is a perfect match because the board is naturally a grid.
Event binding vs. command: A button’s command=... only handles a simple left-click action. With Minesweeper we need multiple inputs (left-click reveal, right-click flag, keyboard shortcut). That’s why we use bind(...) to connect events to handler methods.
Capturing loop variables with lambda: When binding in a loop, you must “freeze” the current r and c. This pattern:
lambda e, rr=r, cc=c: self.on_reveal(rr, cc)
stores the current row/col into default arguments (rr, cc) so each button calls the handler with the correct coordinates.
💻 Code to Write (inside class GameApp in app.py)
Type this by hand so you understand each piece.
🧠 Code Review & Key Concepts
The outer loop builds one UI row at a time. row_buttons collects buttons for that row.
tk.Button(..., bg=S.COLOR_COVERED, activebackground=S.COLOR_COVERED) starts every cell in a “covered” look, using your constants from settings.py.
sticky="nsew" tells the widget to stretch in all directions inside its grid cell.
The bind() calls connect user input to your future event-handler methods:
- <Button-1> for reveal
- <Button-3> for flag
- "f" for keyboard flagging
Finally, self.buttons.append(row_buttons) makes self.buttons a true 2D list, matching the board coordinate system.
🧪 Test File (create s11_test.py)
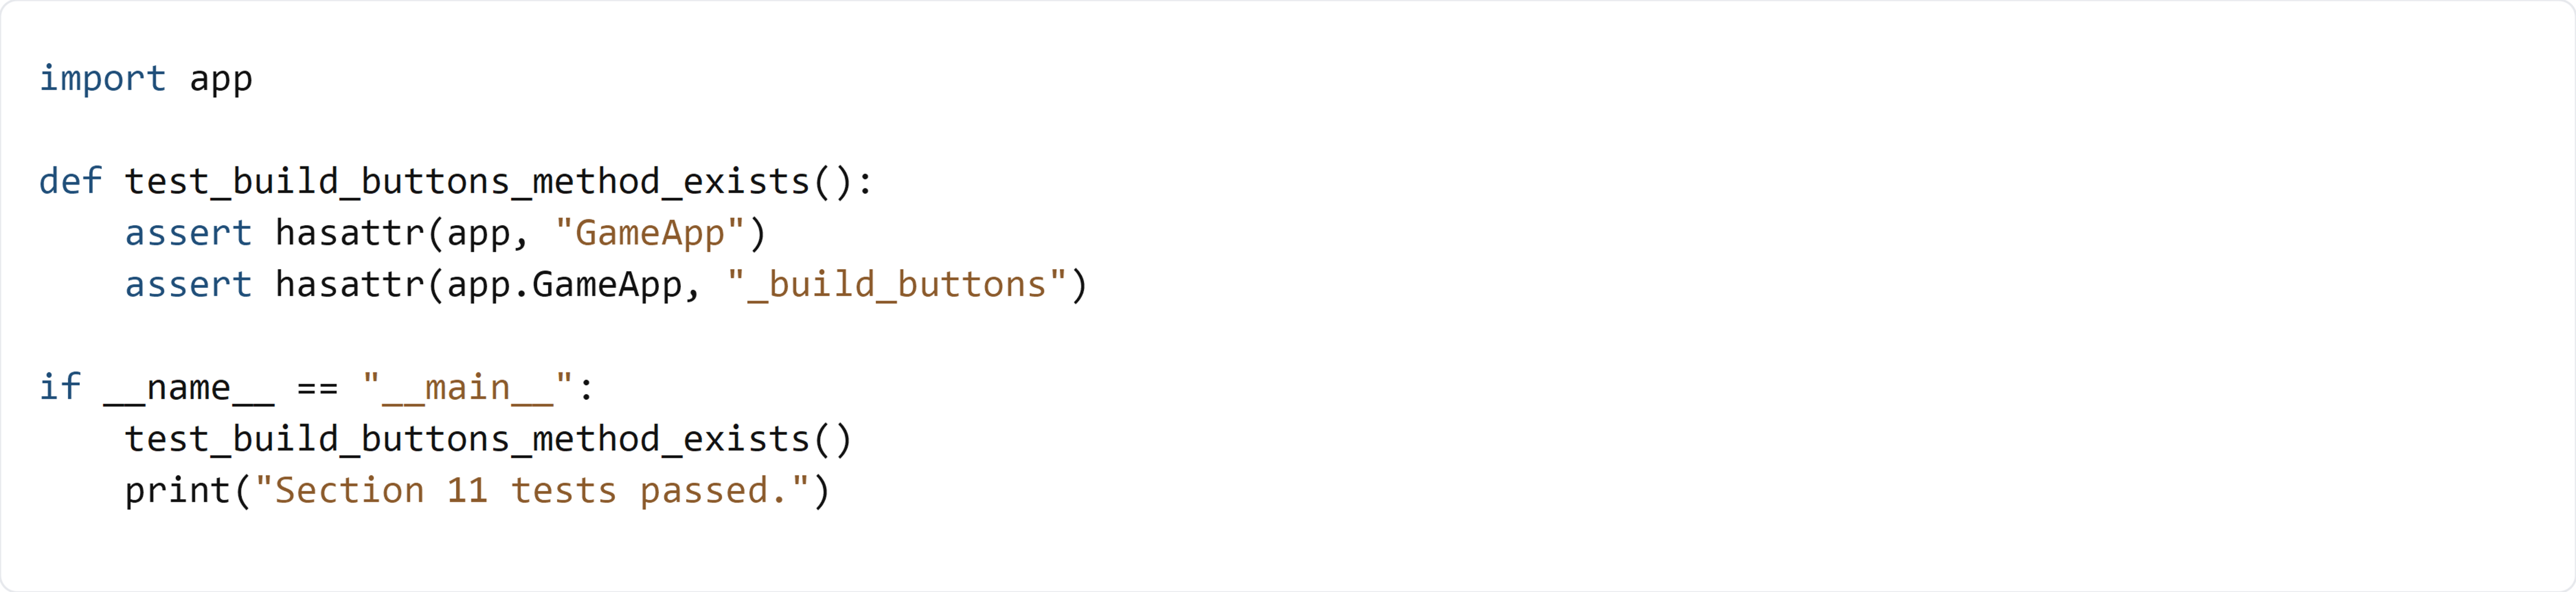
This test verifies that _build_buttons() exists on GameApp. We still avoid instantiating the Tkinter window here because _build_buttons() depends on Tkinter frames and future event-handler methods (on_reveal / on_flag) that will be added in the next sections.